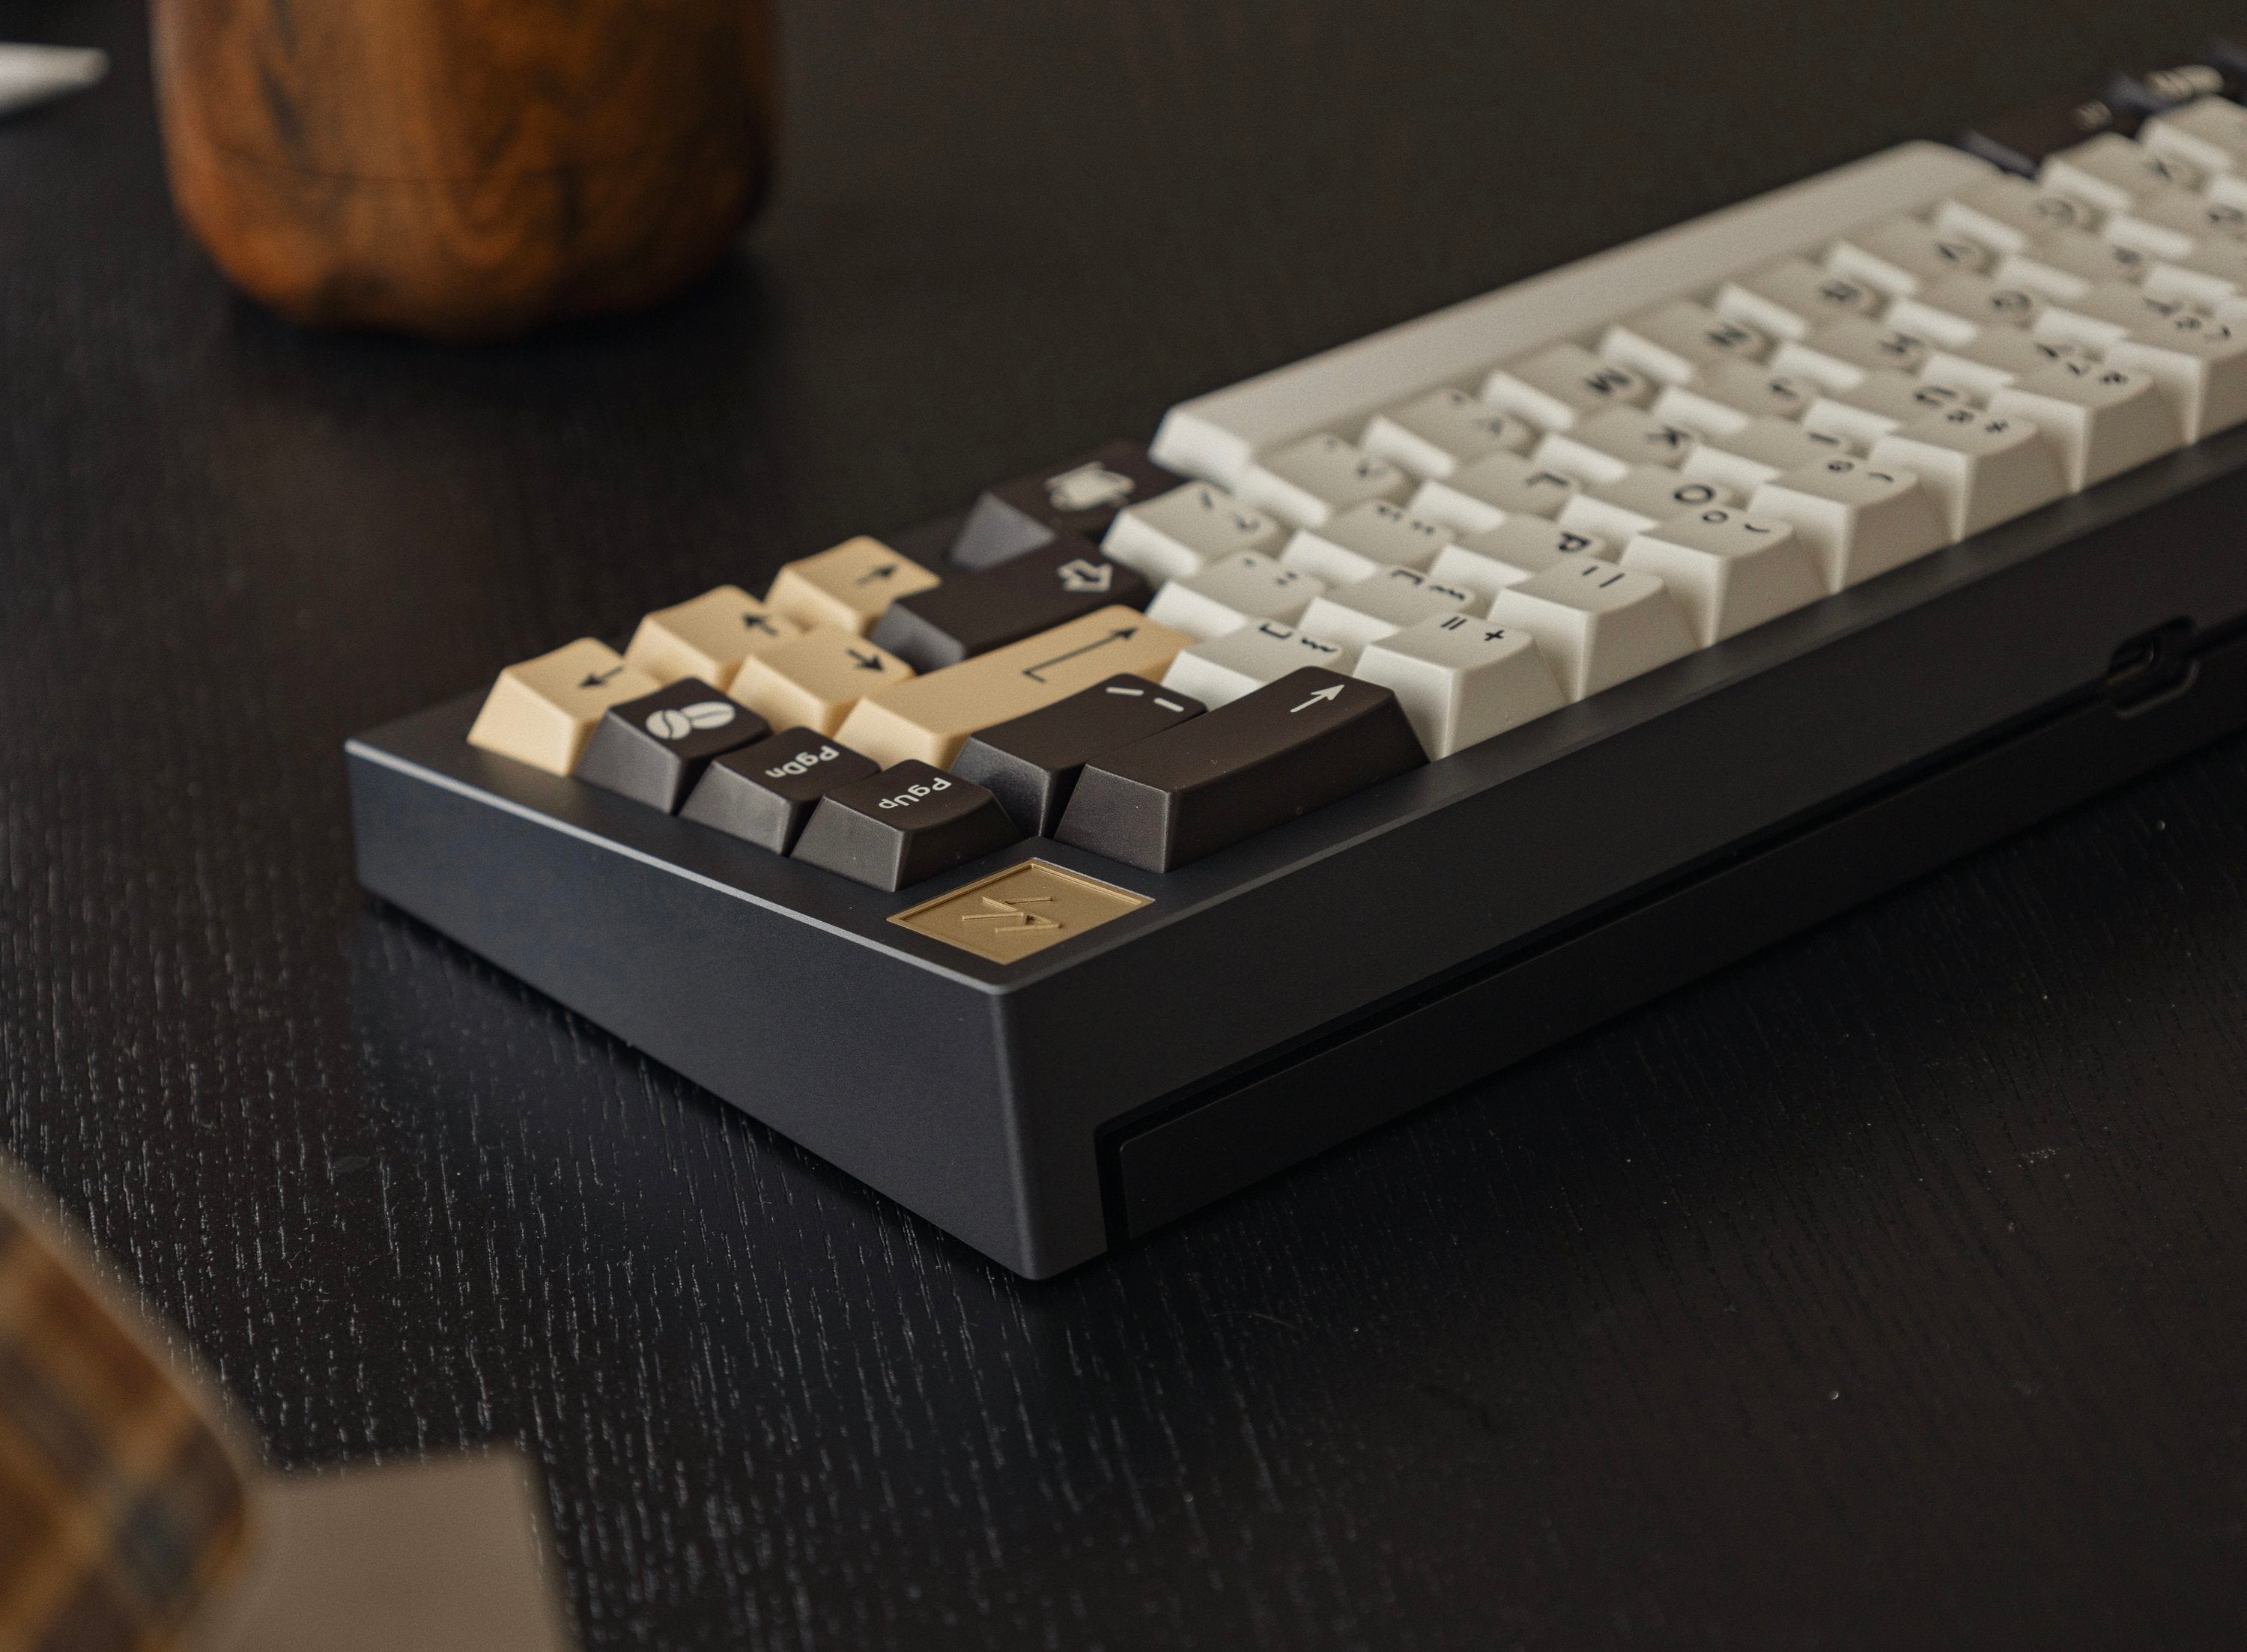
Before you start:
When you receive the kit, please check if you are missing anything from the package. You should be getting, 1 keyboard, 1 PCB, 1 set of bumpon as standard. Make sure you have following software before you start in your computer:
QMK Toolbox (https://github.com/qmk/qmk_toolbox/releases)
VIA (https://usevia.app/#/)
We recommend using gmk, owlab v2, owlab v3 stabilizers. As our plate is designed based on the GMK standard. Under our testing, JWK/Durock and C3 stabilizers are slightly larger thus causing a bit interference issue.
Start of the build:
- Unscrew the case screw, and set aside the bottom case and case screws
- Unscrew the plate screw, and set aside the top case and plate screws, we do not recommend assemble with the plate screwed into the top case
- Tune the stabilizers. Lube the housing and balance the wire to reduce potential rattling noise
- Test the PCB with Via. Make sure VIA can recognize the PCB. If your computer did not recognize at first, please do not panic. Refer to the Driver section below for more information.
- Assemble the stabilizers and screw them into the PCB, tune the stabilizer again if needed
- Put switches into the plate, and make sure the switches are fully seated to the PCB.
- (Solder PCB: solder the switches) Now connect the PCB to computer and open VIA again. Go to key tester and open test matrix tab. test if every key actuate normally.
- Screw in the plate with PCB to the top case with plate screw
- Hold the top case vertically at 45 degree to the bottom case, and match the Type-C port on the PCB to the bottom case Type-C port cutout first, the slide the top case in onto the bottom case
- Secure the case screws, and complete the assembly.
Driver:
if your pcb does not get detect by your computer, please read the following
- Your computer might not have the driver installed, please open QMK toolbox, and on top you can see options, then click on auto install driver. Once that is done, your computer should be able to recognize the PCB
- If you have done the above step, and still the PCB is not recognized by computer, please check the message it pops up on the qmk toolbox. If it says 32u4 connected, then your PCB might not have firmware flashed (factory could have missed it). Download the firmware from here,( https://drive.google.com/file/d/1ZS3JMKF8udG_DXBHoO9ZFHouDVwDpEtZ/view ?usp=sharing) and load it to the qmk toolbox. Then press the button on the back of the PCB, now the flash button should shows clickable. Click the flash button and wait till the firmware is flashed into the keyboard
- If after above method, your PCB is still not recognized, please contact Freather#0808 on discord for helps.
- Last way is to exchange the PCB with your local vendors


Leave a comment
All comments are moderated before being published.
This site is protected by hCaptcha and the hCaptcha Privacy Policy and Terms of Service apply.